How to Touch Your Cat's Paws Without Getting Bitten
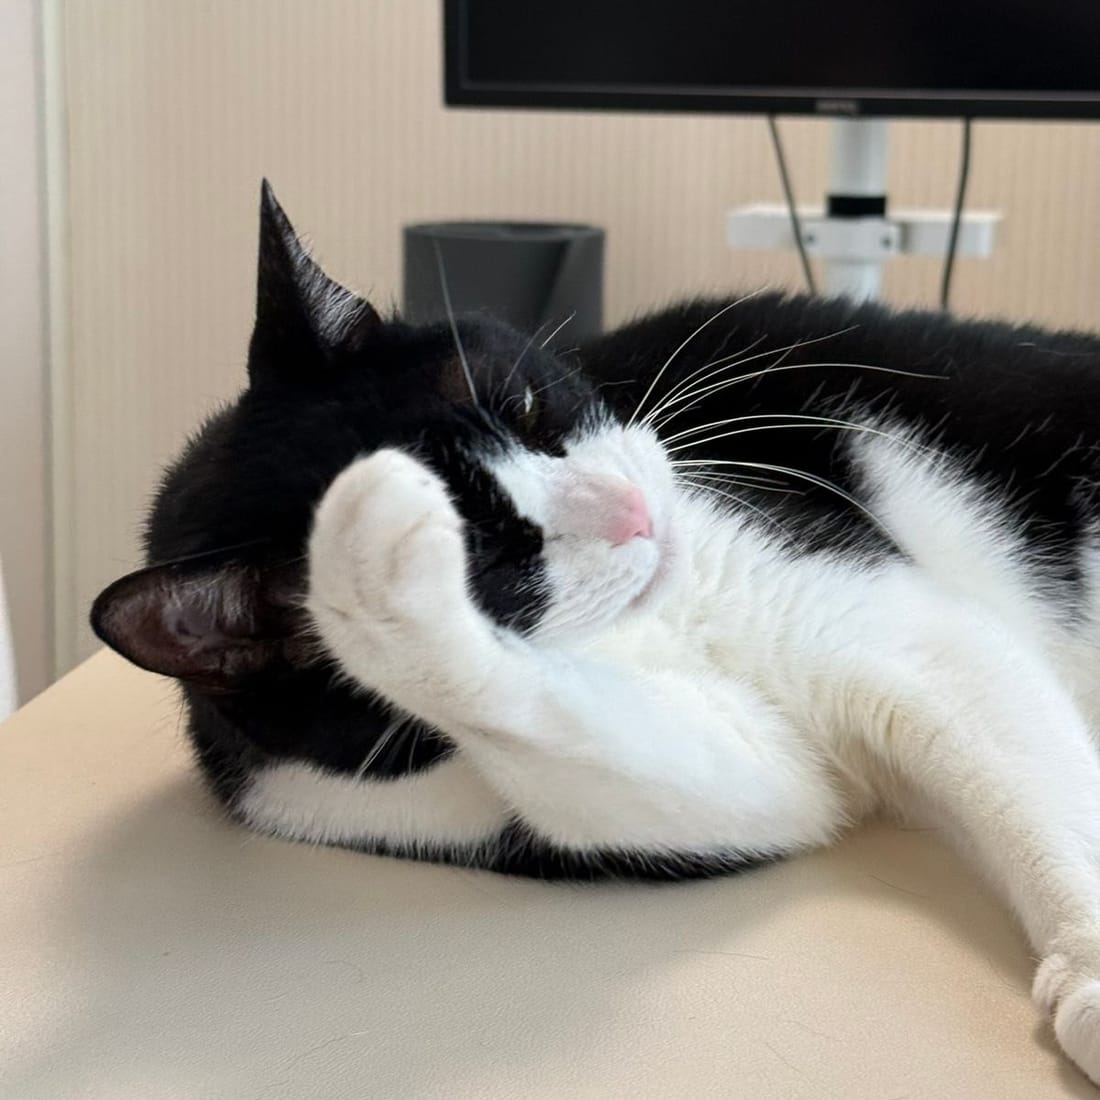
Go slower than you think you need to, and never touch the paw as your first move. The reliable way to touch a paw-shy cat without a bite is to build up from touches the cat already accepts—shoulder, leg, ankle—and only reach the actual paw after weeks or months of the earlier steps feeling boring to your cat. There’s no trick that skips the boredom. With our first cat, Yuja, it took four years to get from “flinches at a paw” to “lets me rest a hand on it.” That’s the honest timeline for a tough case.
Most cats aren’t Yuja, so you may get there in weeks. But the order of operations is the same either way.
Why paws are the last place cats let you touch
Paws are loaded with nerve endings and they’re how a cat controls almost everything—grip, balance, escape. A cat that will melt into a belly rub can still whip around and bite the second you cup a foot. That’s not spite. It’s a body part they instinctively protect.
Mochi, our second cat, lets me handle her paws with no drama and I can trim her nails in one sitting. Yuja, from the same household, same routine, went three days hiding after I once brushed the fur on her toes. Same house, opposite reactions. So don’t measure your progress against some other cat or a video. Measure it against where your cat was last week.
If a cat that used to be fine with paw handling suddenly won’t let you near a foot, that’s different—sudden guarding can mean pain, and a quick vet visit sorts out whether it’s a claw, a pad, or a joint before you keep working on training.
The four steps that got us there
This is the exact progression that worked over four years. You move to the next step only when the current one gets boring for the cat—no flinch, no tail flick, no leaving.
Step 1 — Touch a “safe” zone with the paw nearby (weeks 1–4). Don’t reach for the foot. Pet the shoulder, the top of the back, wherever your cat already enjoys. The goal is just to have your hand in the neighborhood of the front legs while good things happen. If your cat leans in, you’re in business.
Step 2 — Slide down the leg (a month or more). Work your hand from the shoulder down the upper leg, then the lower leg, over many separate sessions. Stop above the ankle. If the cat stiffens, back up to where they relaxed and stay there for a few days. This is the step people rush, and rushing is what gets you bitten.
Step 3 — One-second ankle and toe touch (this took us years). Touch the ankle, then eventually a single toe, for one second, then remove your hand and reward. One touch. Not two. With Yuja, the rule I learned the hard way is that a second touch in a row breaks the spell—she’ll tolerate one and hiss at the second. So I do one, walk away, and try again hours later.
Step 4 — Rest a hand on the paw (ongoing, never “finished”). Eventually you can lay a hand over the whole paw briefly. I’m at this step with Yuja after four years, and I want to be clear: I still can’t properly trim her nails. Six years in, the nail clippers are still a losing battle. What I have is a cat who no longer hides for three days when I touch her foot. For a cat like her, that’s the win.
What speeds it up (and what wrecks it)
| Helps | Sets you back |
|---|---|
| Ending every session while the cat is still calm | Pushing “one more touch” |
| High-value treats given the instant you touch | Grabbing or holding the paw so it can’t pull away |
| Same time of day, cat already relaxed | Trying right after a stressful event (vet, guests) |
| Touching, releasing, walking away | Long, continuous handling |
| Reading the tail and ears | Ignoring early warning signs |
The single biggest mistake is holding on. The moment a cat feels trapped, the calculation flips from “this is annoying” to “I have to get out of this,” and that’s the bite. If you let go before they need to escape, they learn your hand is safe to be near. If you don’t, they learn the opposite—and you’ll be undoing that lesson for months.

Read the warning signs before the bite
Bites almost never come out of nowhere. The signals stack up in order, and your job is to stop at the first one, not the last.
- Tail flicking or thumping — the earliest tell. Stop here and you rarely escalate.
- Skin twitching or a leg pulling back — they want the foot back. Let it go.
- Ears rotating sideways or flattening — patience is gone.
- Head turning toward your hand, a low growl, a hiss — you’re one second from teeth.
Yuja’s tell is a fast tail flick followed by a head turn. Once I learned to stop at the flick instead of the head turn, the bites basically ended. The behavior didn’t change—my timing did.
If you actually need to trim the nails now
Sometimes you can’t wait years, because the claws are catching on things or growing into the pad. If your cat won’t cooperate and the nails genuinely need doing, don’t turn it into a wrestling match that undoes your training. Options that don’t burn your progress:
- Do one nail per day. You don’t have to finish all eighteen in one sitting. One claw while the cat is sleepy, then done.
- Try during deep relaxation, like right after a meal when they’re loafing and half-asleep.
- Let a vet or a groomer do it for the trims you can’t manage. It costs a little and spares your relationship with the cat. Petco and PetSmart both do walk-in nail trims for a small fee.
I use the vet-or-groomer route for Yuja without guilt. Meanwhile I keep doing the four-step work at home, not to “win,” but to keep her comfortable being touched. Those are two separate goals, and pretending they’re the same is how people end up with a cat that hides under the washing machine.
The mindset that makes it work
Treat every session as optional for the cat. You’re not entitled to the paw—you’re asking, and the cat can say no. When you handle it that way, refusals stop feeling like failures and start feeling like information: this is the line today, we’ll try again tomorrow.
That reframe is the whole thing. Yuja spent her first two weeks with us hiding behind the washing machine, and it took four years just to touch her feet. Mochi took a few weeks. Both timelines were correct for those cats. Your cat has a correct timeline too, and it’s almost certainly longer than you’d like. Match the cat’s pace, quit while they’re calm, and let go before they want you to. Do that consistently and the bites go away—even if, like me, you never quite win the nail clippers.
This article is general information from a cat owner, not veterinary advice. Talk to your vet about your cat's specific situation.